Search the Remotely Knowledge Base
RMM - Getting Started
Tuesday, 04-08-2025
Getting Started
Upon the initial login to the application, you will be presented with a screen guiding you to link to a Cloud Service. If you have not done so, you can find documentation on connecting an Azure Enterprise Application here.
Install Windows Agent
In order to manage your Windows devices, you will first need to install the Remotely RMM agent. An agent is a service that runs behind the scenes of devices and reports information to the Remotely RMM application.
Install Agent
Before you can install the Agent, you must first download the file from within the Remotely RMM application. To access the file
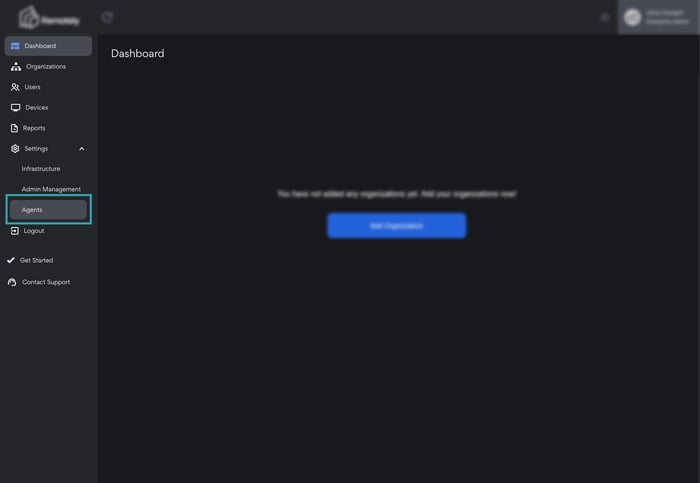
- Select Settings > Agents From the left side navigation
- Select the 'Agents' option

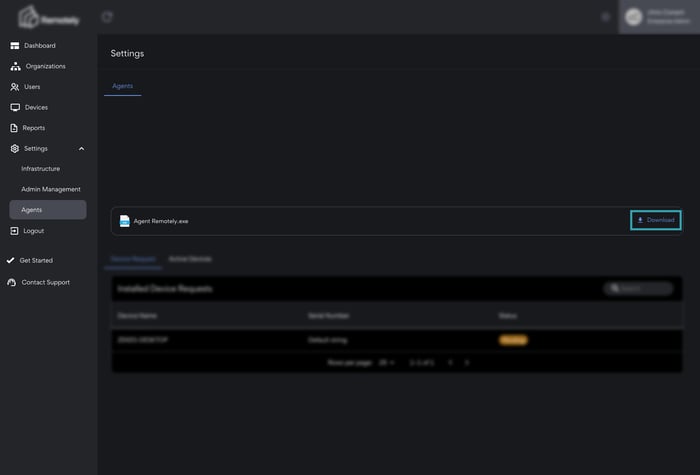
- From the Agents dashboard you can download the Remotely Agent.exe file by selecting the Download button

- Once downloaded, navigate to the Remotely Agent.exe file on your device.
- Select the file, and the agent will automatically begin installing on the device.
- To confirm that the agent has been installed successfully, you can check your Windows device's applications for the Remotely Client Agent
Approve Device
Once the agent has successfully installed on a device, you'll need to approve the device within the Remotely RMM application. To do so
- Select the Refresh button in the application header
- The device will now appear in the Installed Device Requests section of the Device Requests tab
- Select the desired device, which is indicated by the Device Name or Serial Number
- Once the device has been selected and the information is correct, you'll be able to Approve the device
- The approved device will now appear under the Active Devices tab
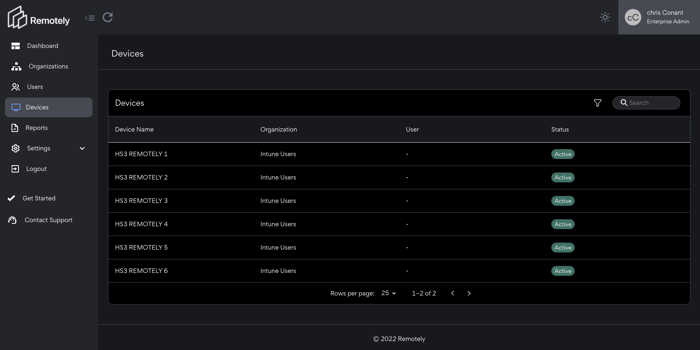
Once an agent file has been installed on a device and approved, the device will now appear in the Devices section of the application

.png?width=50&height=50&name=Untitled%20(50%20%C3%97%2050%20px).png)